Monday, May 13, 2019

Installing the Dometic HP

first it was off with the old. To do this I had to remove the 4 screws that hold the air duct cover off. then remove the 4 1/2" bolts holding the AC unit in place. I thought that would be all that was holding it on.  boy was I wrong. Once on top I removed the shroud.
 
There were actually about 40 screws holding it on from the top about half came out the other half had to be ground off. leaving 40 holes in my  roof ( more on this later).


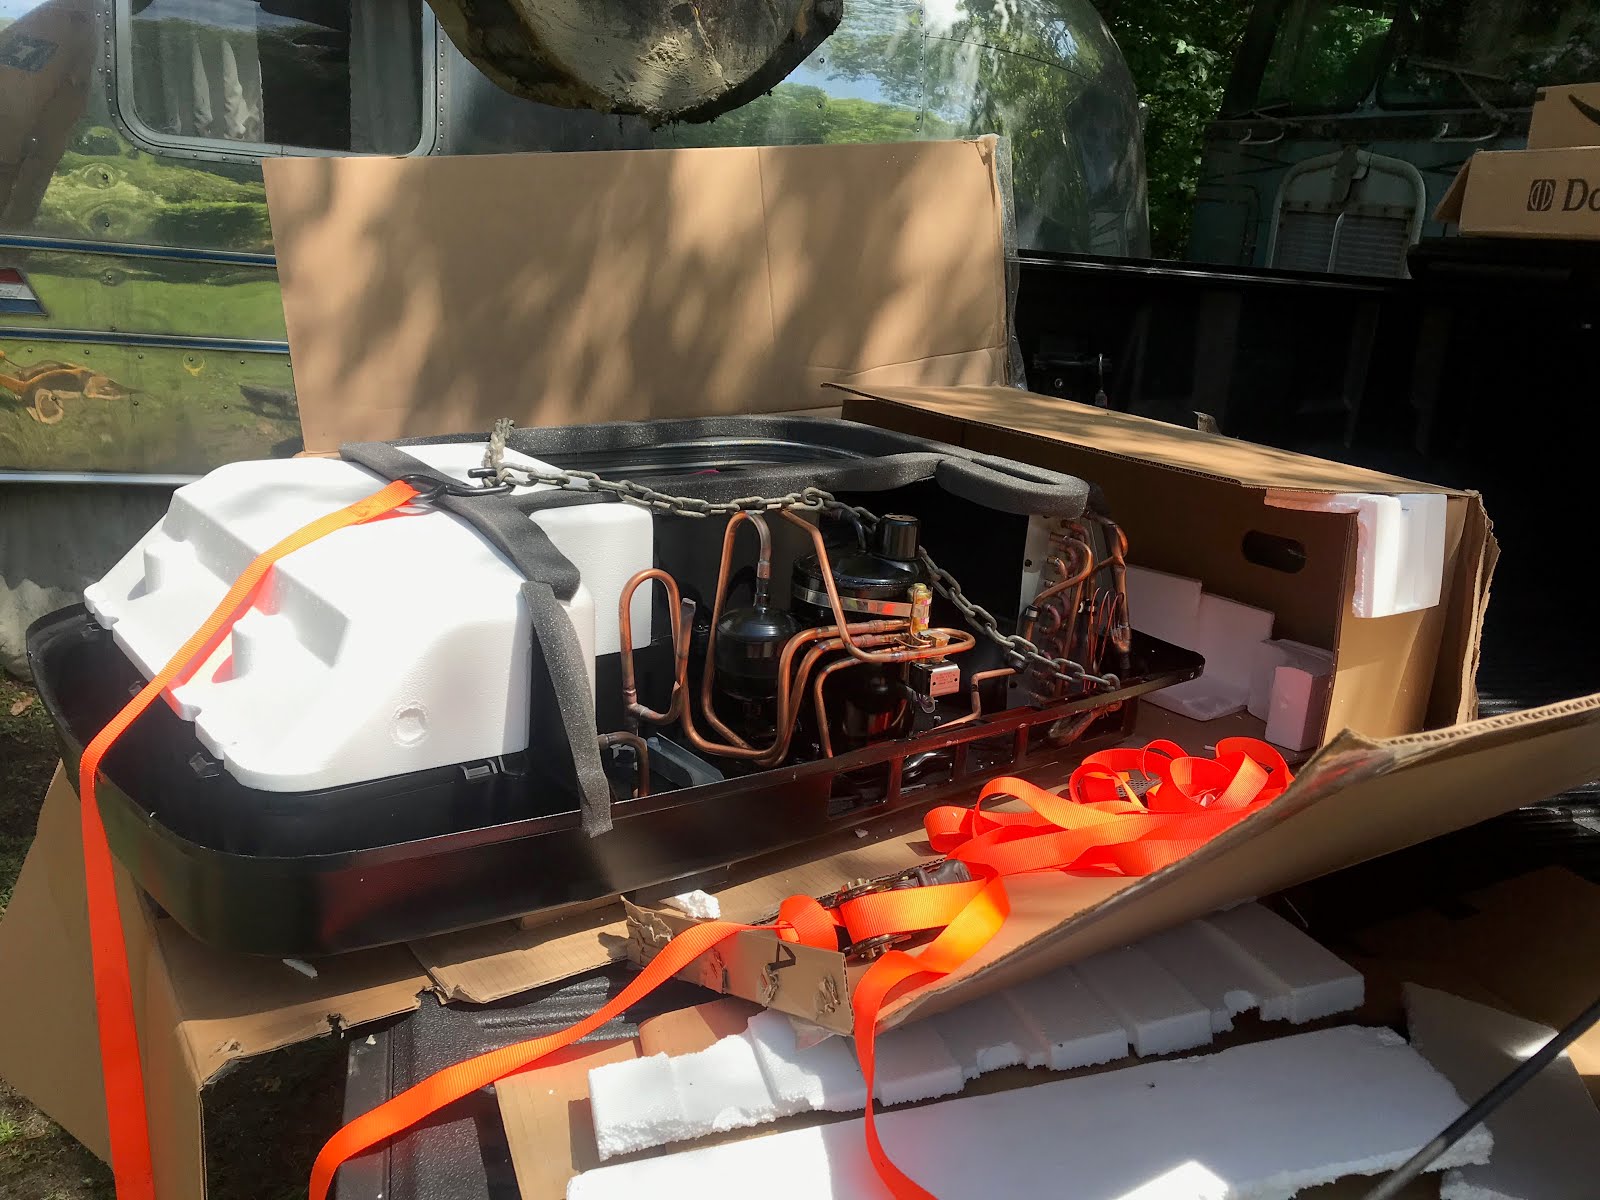
A few straps to lift off the old one

 I cheated a little on the next part and had my dad lift it off with his back hoe.

Now for the 40 holes I decided to leave the screws that I ground off in place and used some Poly sealant over them the ones that came out. I put poly on a pop rivet and then poly over the installed rivet. I think this will seal I cover all the roof rivets with poly anyway and replace the poly every few years just to help keep things dry

Next we used the back hoe to lift the new one up into place it was difficult to find a place to put the straps that they would not damage the new unit.
 
up it went onto the roof once centered over the hole and the shroud back on the rest is done from inside.
 
Inside had some issues there is an aluminum rib at the front of the hole witch supports the AC well but the back of the hole is another matter the closest rib to the back of the hole is about 10 inches away so there is no support for the back the unit.
 
I tried a metal brace at first but decided to make a wooden rib it seems to work well.

Now I need to figure out the wiring.

Monday, April 18, 2016

Polishing continues!

I have been polishing like crazy I started with F7 polish but had to drop back to F9 as I was having to work to hard with the F7 the photo below is what F9 Swirl marks look like. 
This is what F7 swirl marks look like
Its actually difficult to get a photo of them.
I have the camper almost completely done with f9
Some things I have learned along the way. Watch your cords while I was working up high on the trailer  i didn't notice that where the polisher plug and the extension cord connected was scratching the camper they are now wrapped in cloth.  Also watch the handles of the polisher as laying them against the camper will also scratch it.

Thursday, March 3, 2016

I can't believe its been 3 years???


Where does the time go? Well I have been working on other things like divorce finding a new girlfriend and other stuff. I have been wanting to work on the exterior of the trailer since I got it so thanks to a good tax return season I was finally able to afford the stripper (not that kind of stripper) and polish. (My dad thought I said I got a Polish stripper for my camper and he was keen to help till I corrected him.)
 
I opted for the PPG Aerospace PR-5044 Peroxide-Activated Stripper its pricey at 200.00 for 5 gallons but it works really well. I had to wait for a day that was at least 60 degrees per the instructions. To apply it I used a medium sized paint brush and a paint roller on a pole. You apply it nice and thick let it sit for an hour then wash it off with a pressure washer. As you can see from the picture I would work on one section while waiting for another section to sit. I was able to strip half the trailer in one afternoon. The stripper definetly works best in the sunlight on the back of the trailer where it is in heavy shade it did not work nearly as well so I think I will have to turn the trailer to do the other side. 
So this is the one side stripped. It already looks more even but I couldn't resist trying to polish a little bit.
 so this is one pass with F7
this is with a second pass of F7 already looking amazing...... now I just need some good weather and some time off.

Monday, May 6, 2013

 the finished doors in place
 Jane trying out the display surfaces
 Our test run camping trip to Martinak state park
 lots of critters

Passed inspection
 hooked up to head out to inspections station

back from inspection passed with flying colors.... Yea!

Monday, April 22, 2013

Another productive weekend

 the rest of the furniture installed
 the new carpet in
 Cleaning up the stove top with vinegar
 the top needed the most work
 The Bodies! The cushions still drying after their bleach treatment.
 kitchen counter and new faucet. the tambour doors on this cabinet are shot.

 so I just so happened to have some walnut lying around and made up some proper cabinet doors using the tambour as the center to match. (saw someone else do this on the airfourm).
hoping that these weight distribution parts all work together.

Thursday, April 18, 2013

 Getting ready to install the bathroom
 I am starting at the back and working my way forward
 connecting the wiring for the bathroom vanity
 upper cabinet re installed
 Bathtub installed


 under sink
 new vinyl floor
 sink and tub backsplash installed
new toilet installed had to loose the toilet seat cover as the new toilet is taller then the original.
 This old peaterbuilt was the donor for all the new aluminum belly skins .
 bedroom installed (except bed and overheads)


tools of the trade..